Mascara History, Tips, Vegan Recipes, And Tutorials
Mascara and Lashes
Welcome to our blog, thank you for visiting and the very welcome likes and shares that you do. We truly appreciate it, without you, it would not be a blog.
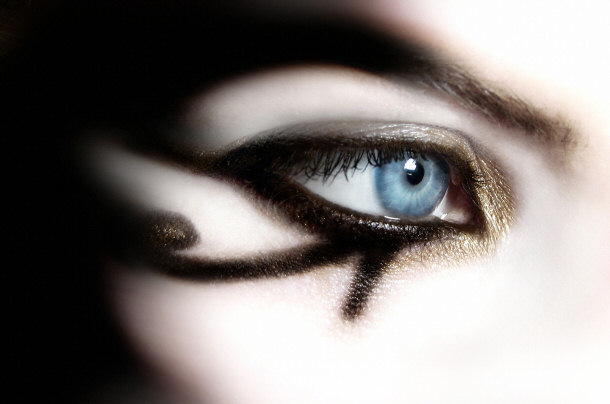
This week 249 we are sharing lots of tips, history and facts about mascara. In my personal makeup, I can go without many steps but definitely not without mascara. The eyes are such an important part of our expressions and they reflect not only the state of our moods and health but at the same time our deepest inner being. There is a saying that the eyes are the windows to our soul. With that said we will take you into the mascara world, we are sharing the use of it and how mascara came about. It is quite fascinating for us to know the history of products and how they came about it makes the products a collaborative effort just to acknowledge the effort that went into it. Aside from knowing what we are placing on our bodies, thank you for your time and attention.
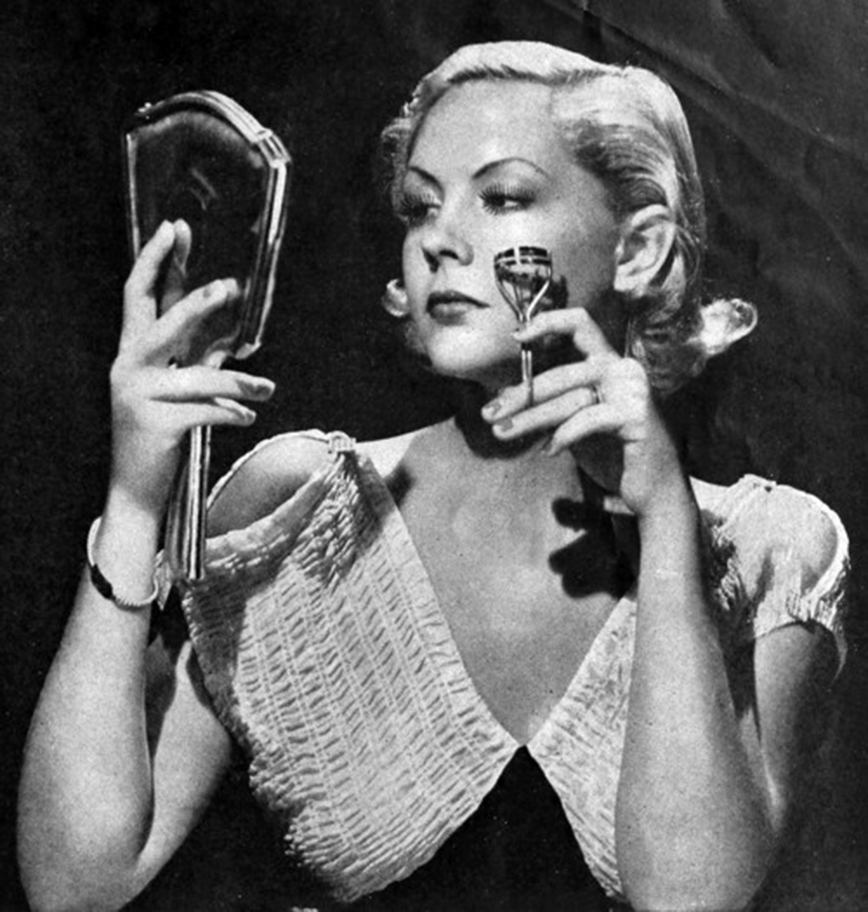
No eyes are complete without a frame of lashes curled and defined lashes to flutter. For a semi-permanent solution ideal for vacation consider having your lashes color, but for every day there are mascaras to color, thicken, volumize, lengthen, curl or condition. Waterproof formulas withstand rain, tears, and swimming they can be a godsend for wearers of contact lenses. Clear mascara gives a dewy look to natural lashes and can also be used to hold brows in shape.
History of Mascara
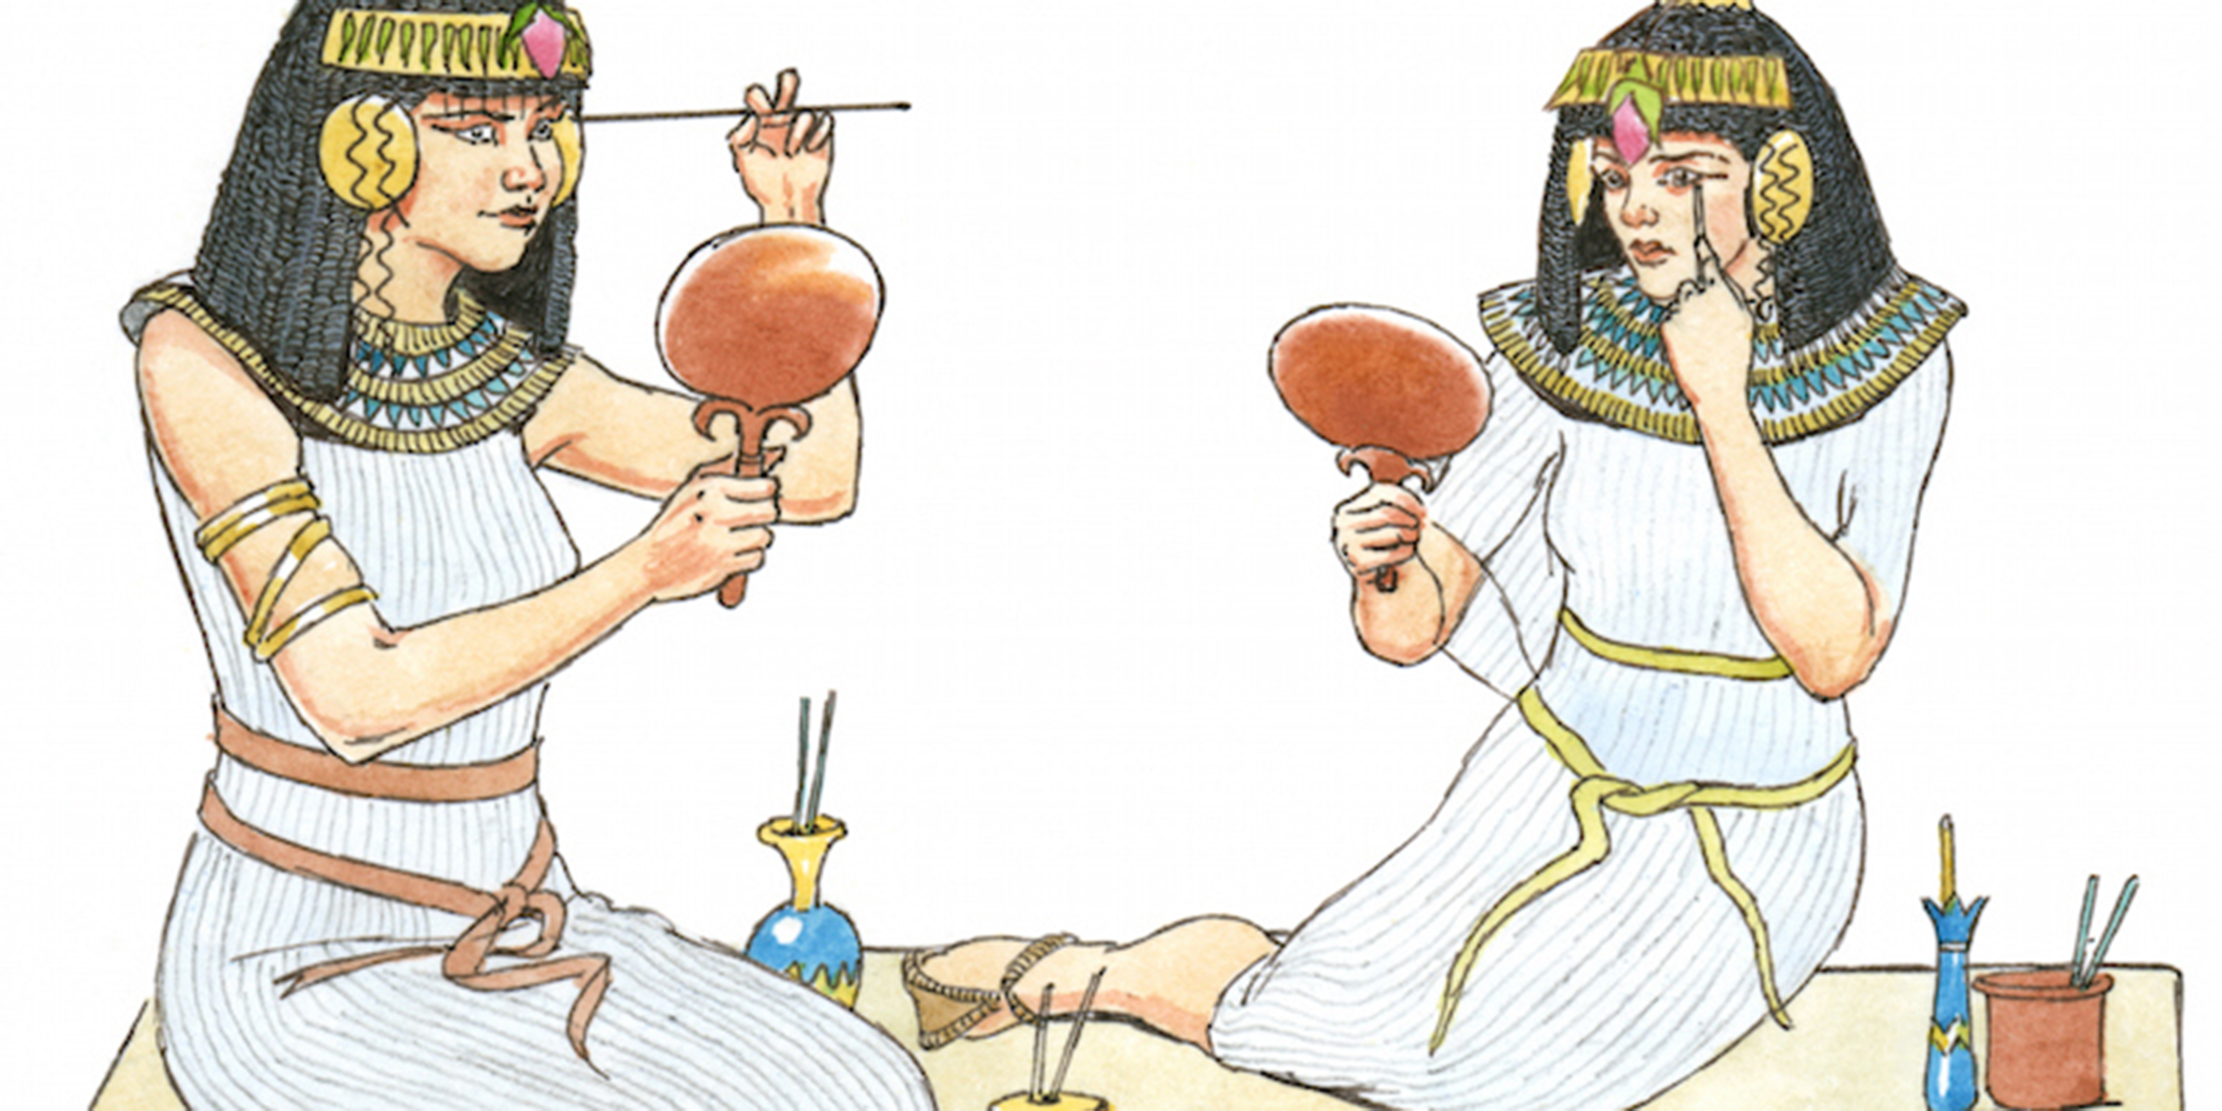
Mascara back dates thousands of years, early examples of those attempts can be found in the archeological digs at several ancient civilizations such as Mesopotamia and Assyria, where dust of ground precious stones were used to decorate women’s lips and eyes, but the true revolution of mascara for eye related cosmetic products came from Ancient Egypt.

Egypt society slowly built fashion that integrated not only with their medicine, but at the same time with their religion. Egyptians viewed fashion as a way to honor their beliefs, and majority of population used Facial and body painting on regular basis. Eyelash and eyelid products that appeared there speak of the substance called kohl it was one of the most widely used cosmetic products in both ancient and modern Middle East, it was made from charcoal or soot, honey ,water and strangely enough, from crocodile stool, wow who would have thought!!
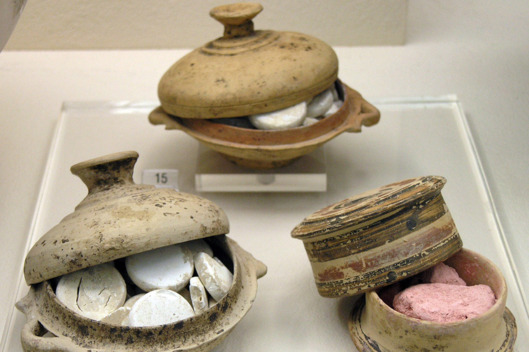
Kohl and ground up minerals

Ancient Egypt Eye Makeup Applicators

They used it to darken eyes, eyelashes, and eyebrows, protect their eyes from harmful dust and microorganisms that were blown by the wind, (we tend to forget that eyelashes are for protection of our eyes) and off course, this substance and accompanying applying ritual was a part of their religion (most often it represented preservation of wearer soul against harmful evil spirits).
Eye Makeup as a protection in Egypt
In Ancient Egypt, men used to style their lashes just as often as women. They used kohl and ointments to darken the lashes, which also served as protection for their eyes from the sun’s harmful rays. Women also used malachite on their lashes as they believed it worked as an aphrodisiac Hmmm that’s a thought!!
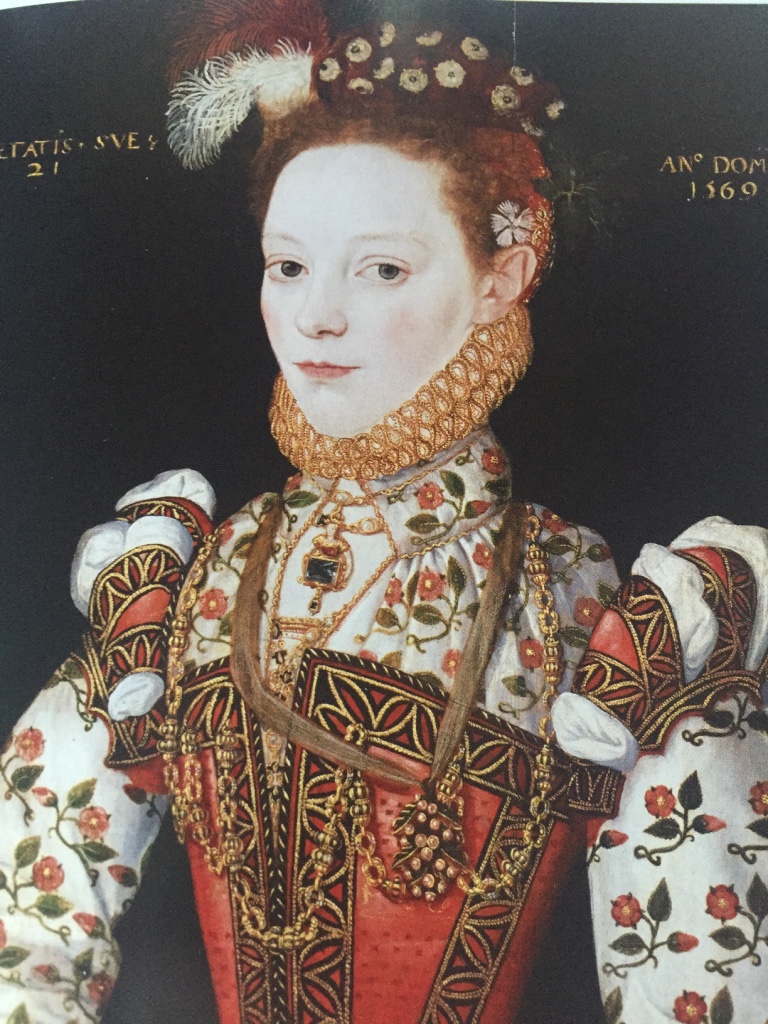
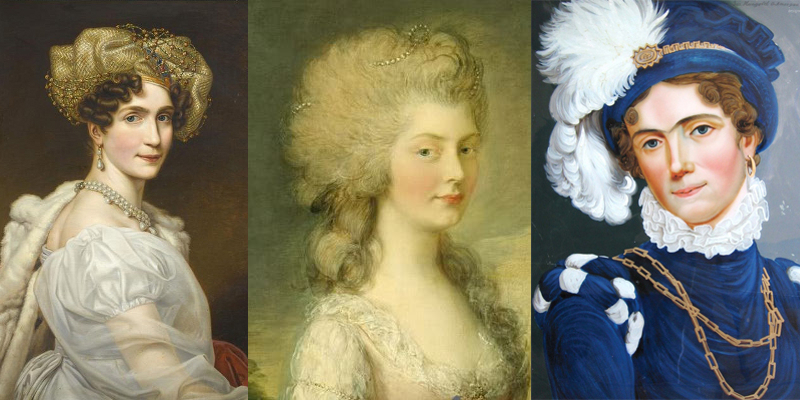
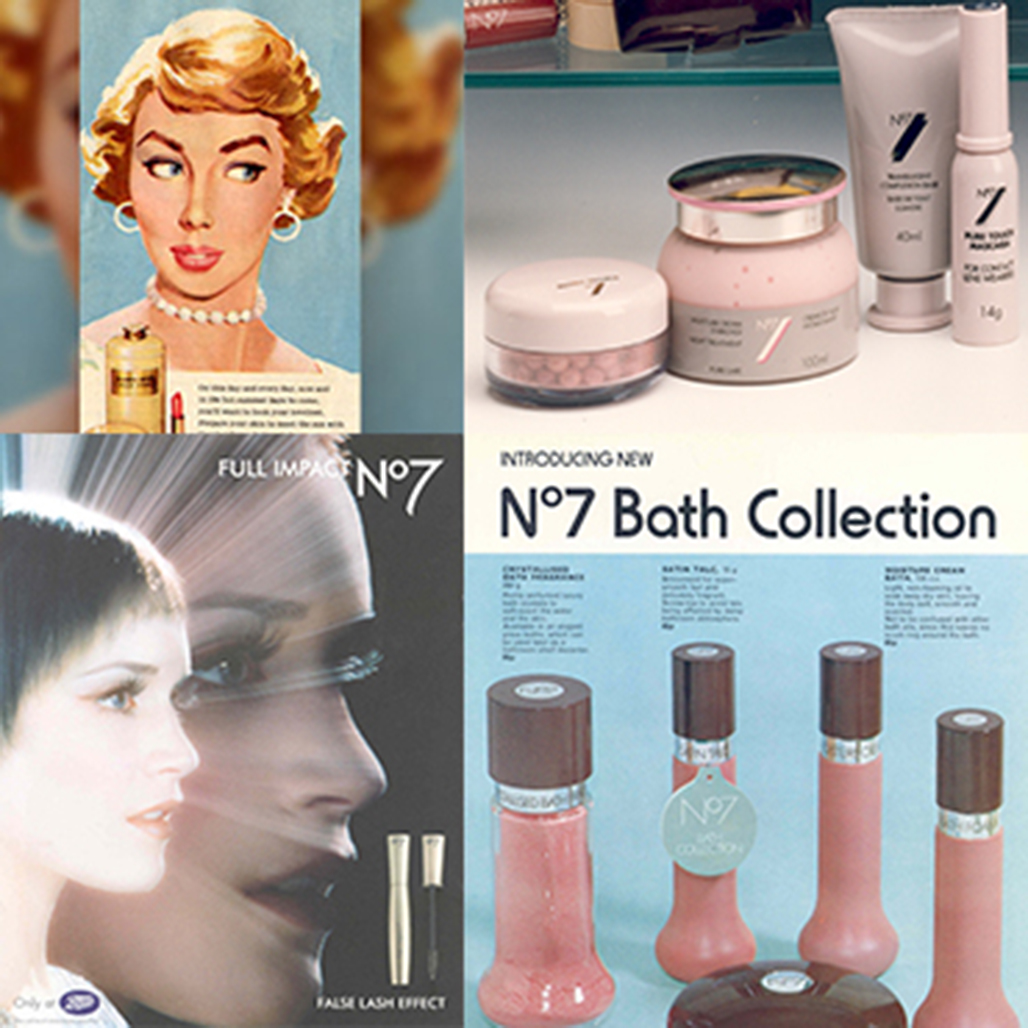
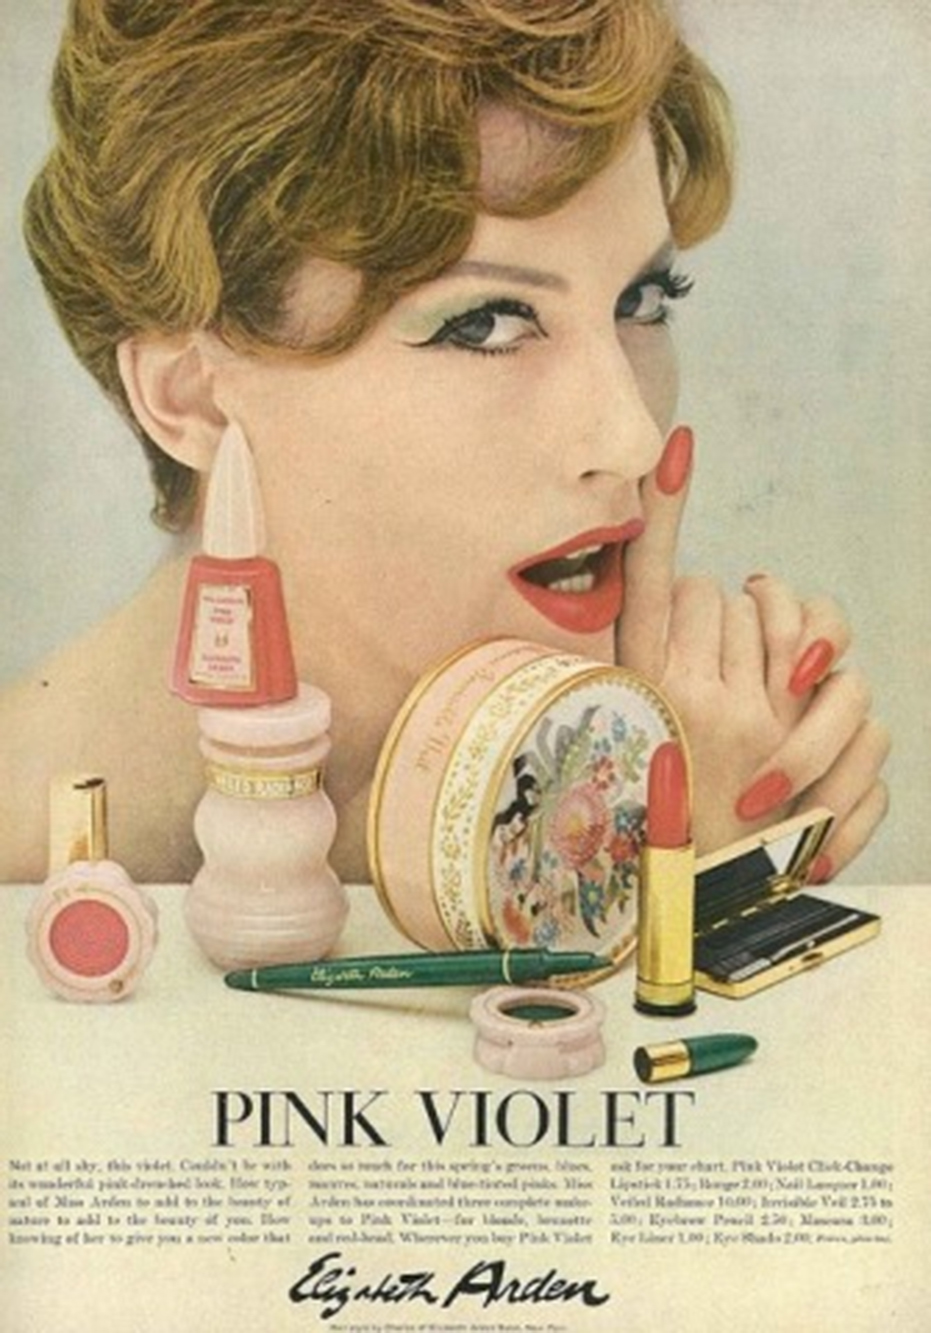
After the fall of Rome, Europe fell into dark times, in this era when cosmetics were viewed as vanity items of rich and powerful people. The changed during the reign of English Queen Victoria (1837 – 1901, fashion style continued to live until 1912) cosmetic products and elaborate clothing became an integral part of woman life of mid-class and high social classes. Elaborate beauty routines, complex fashion styles, and public promotion of cosmetic pushed women to spent many hours a day applying makeup on their faces. Mascara represented very important part of every woman cosmetic collection, and illusion of dark and long eyelashes became their obsession.
Victorian women are really into their makeup, and with painters from the Pre-Rapahelite Brotherhood celebrating lovelies with impossibly long lashes, mascara formulations once again abound. Recipes include everything from a blend of ashes and elderberries to lampblack, which is the sticky soot from oil lamps.
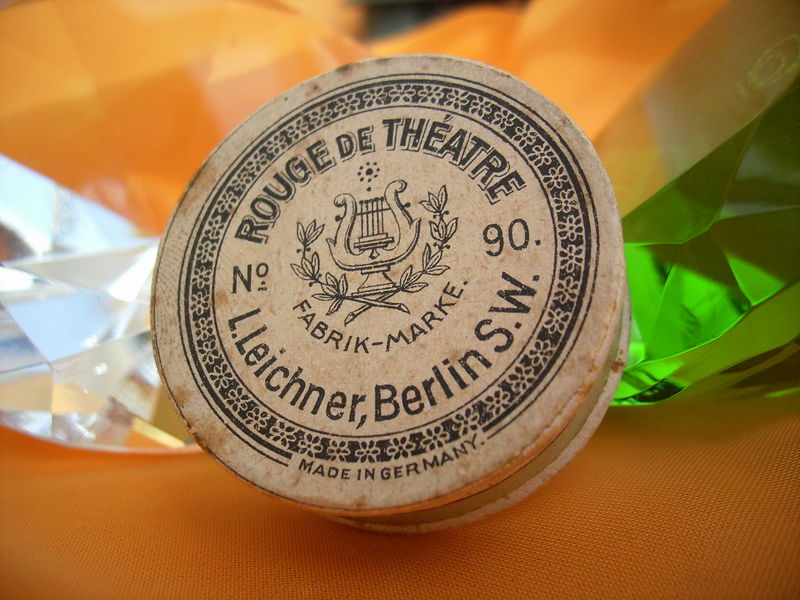
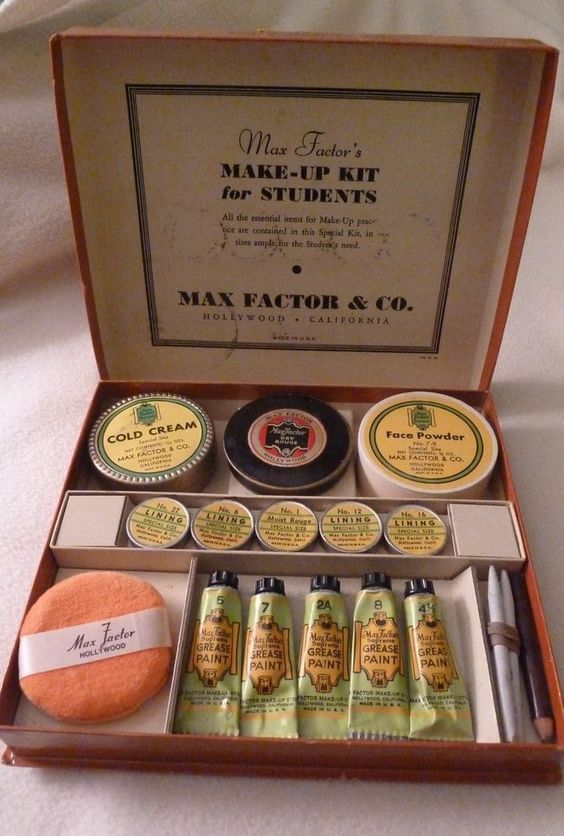
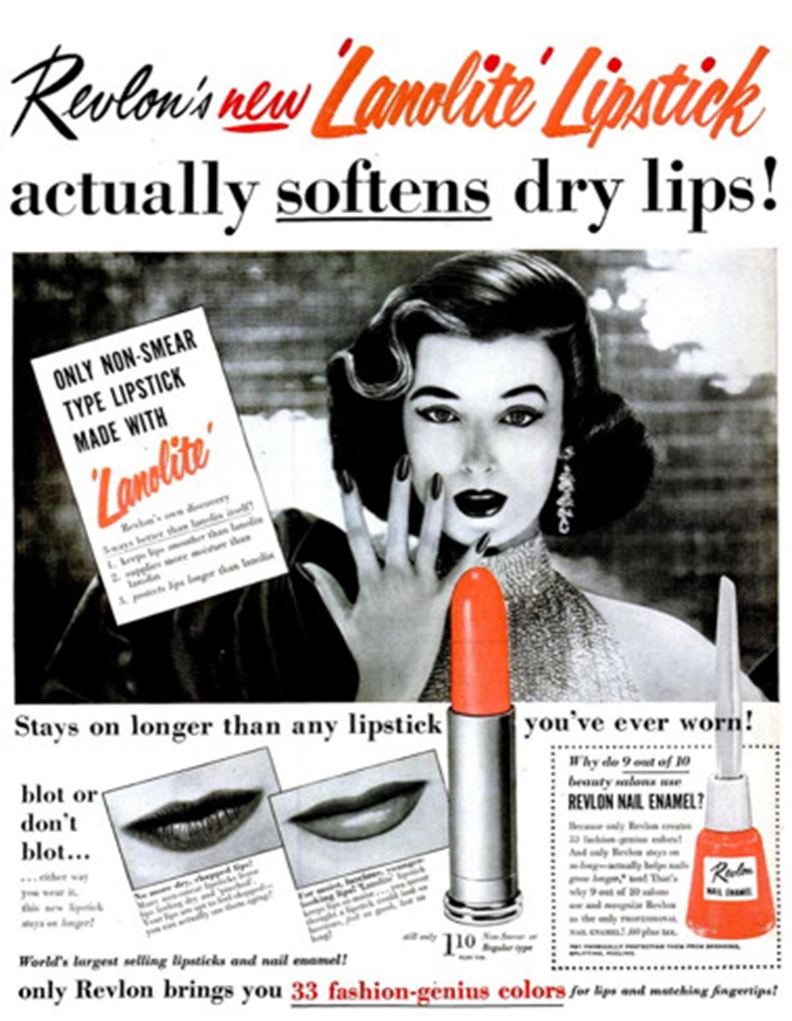
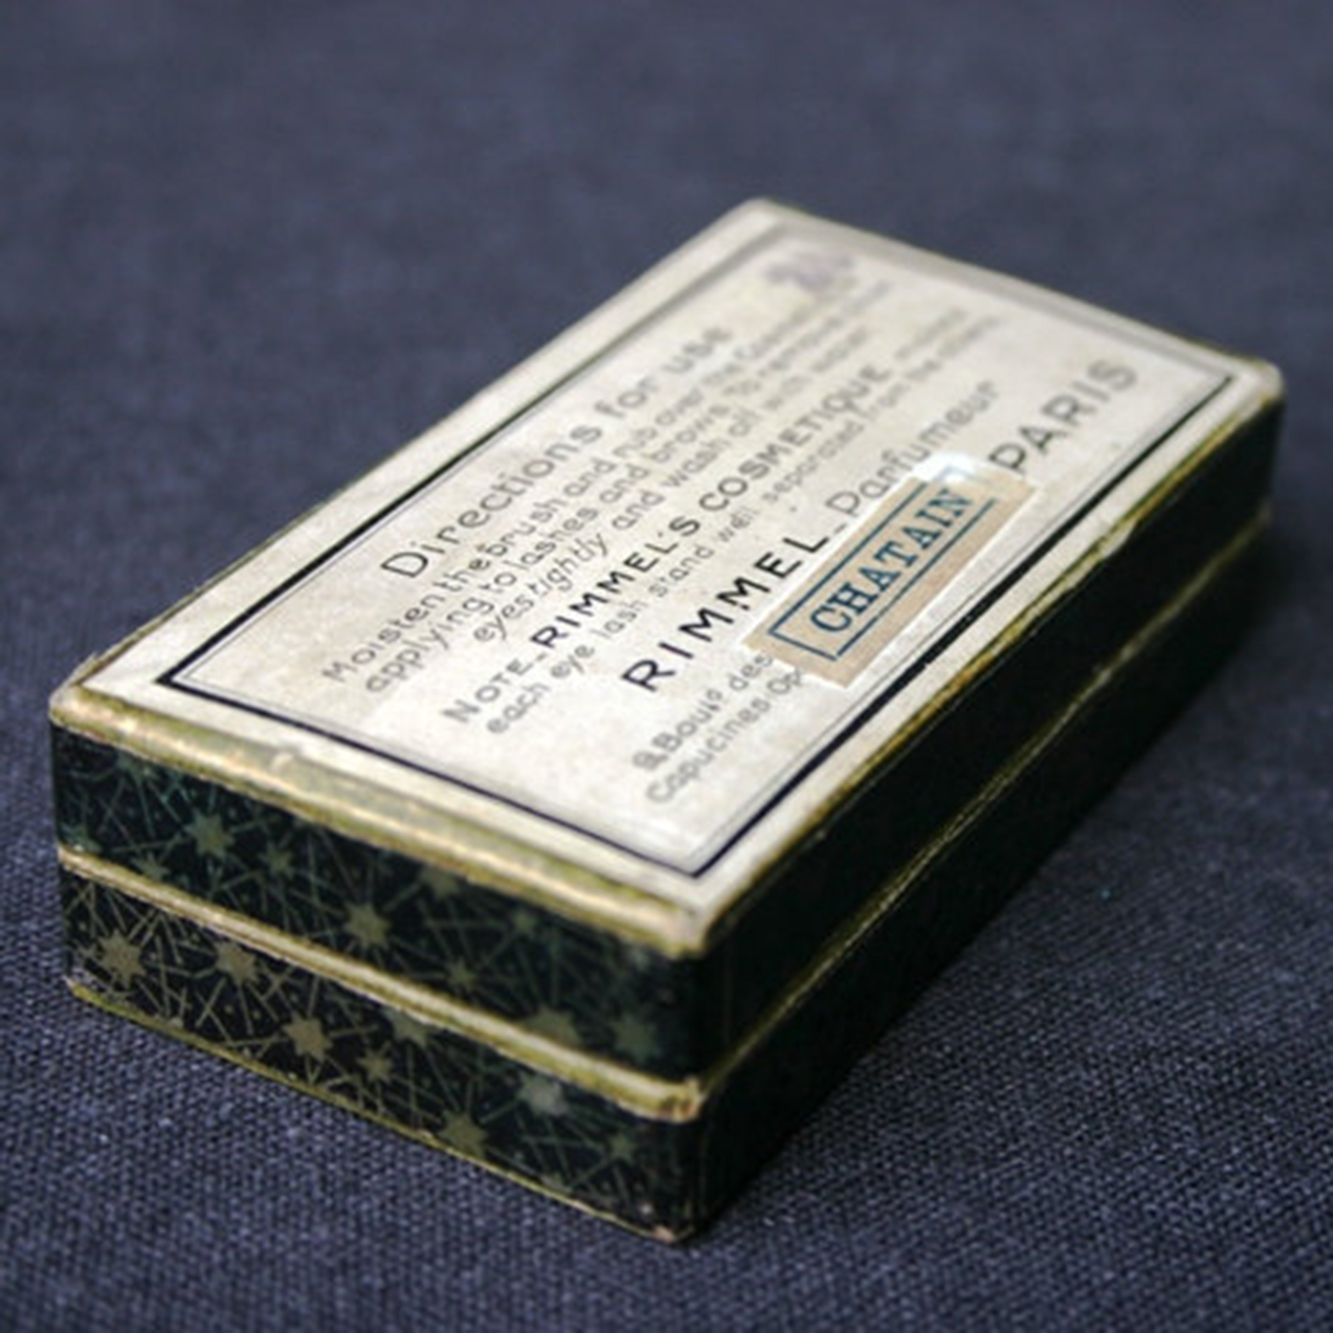
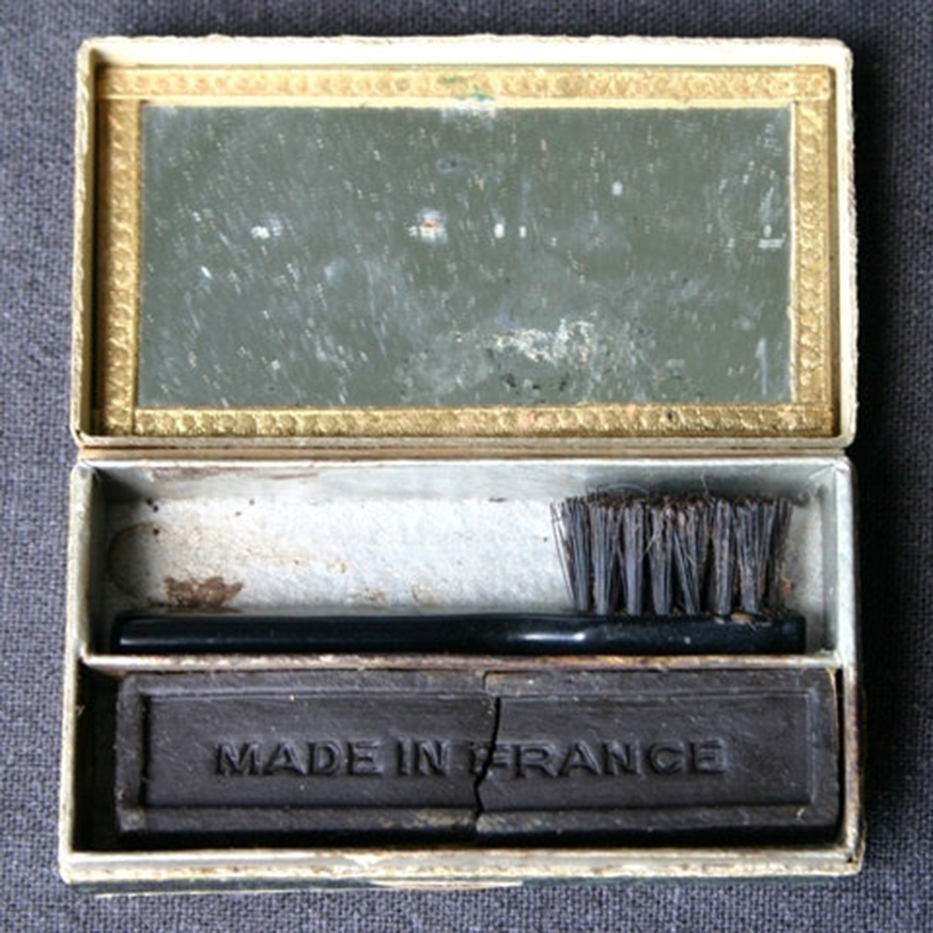
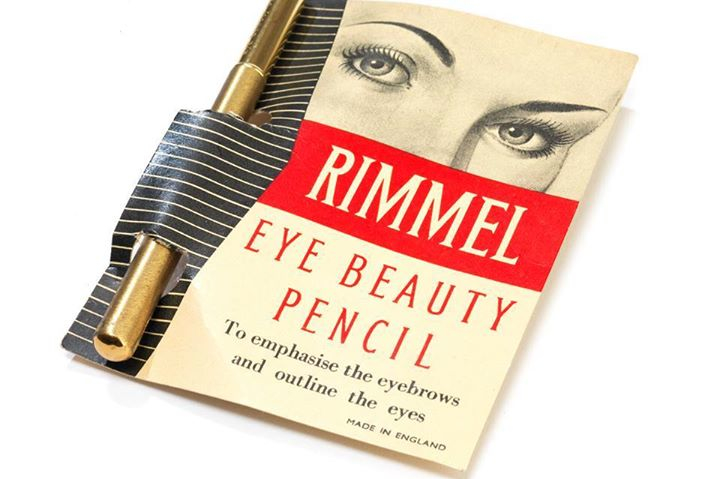
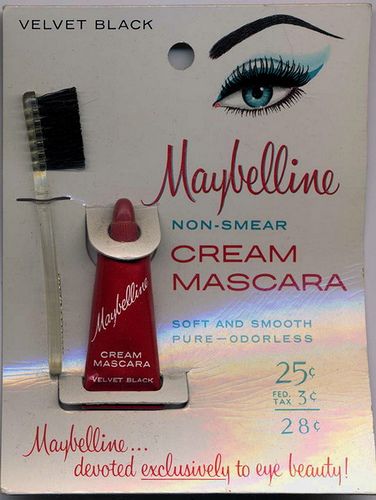
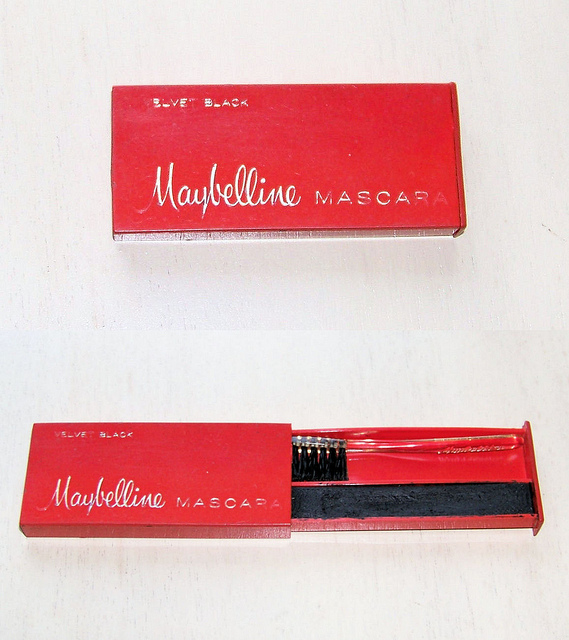
It was in 1913 when French chemist and perfumer Eugène Rimmel produced the first industrial made non-toxic mascara. This product was far from perfect, messy and inconsistent, never the less it managed to become massively popular across Europe, South America and other continents , where several countries still call mascara products as “Rimmel”. Worldwide acceptance of mascara came from the mind of T. L. Williams who devised very similar packaging and formula as Rimmel, but he managed to market it better and eventually form his company“Maybelline” which is even today well known for their mascara he created the first modern day mascara by mixing coal dust and petroleum jelly. Ouch!!!! Toxic right?
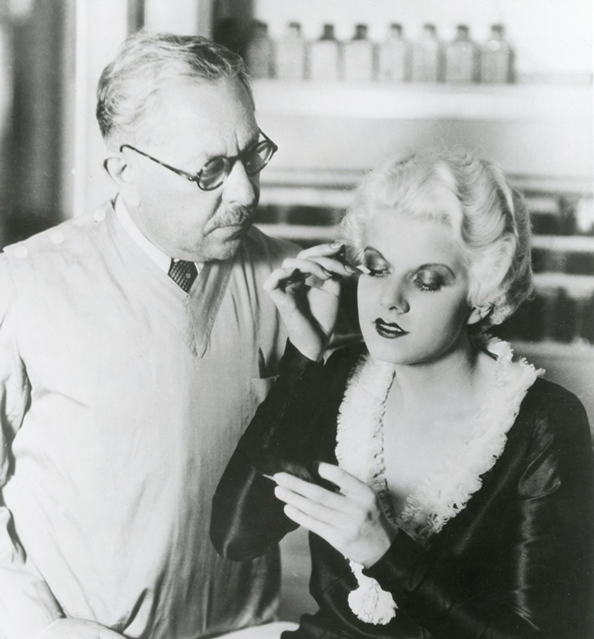
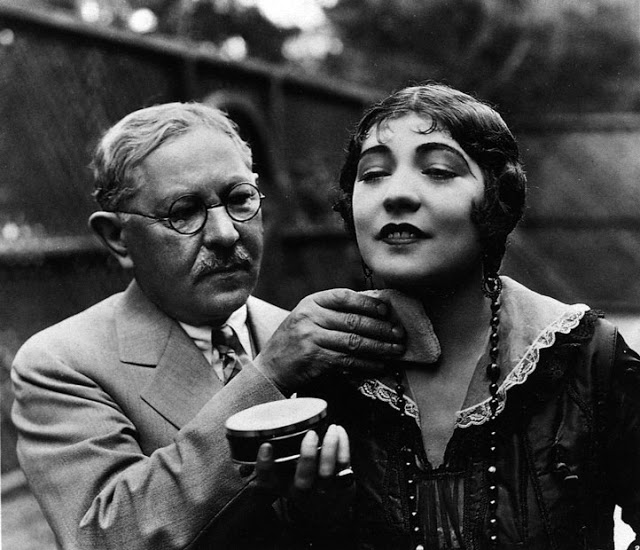
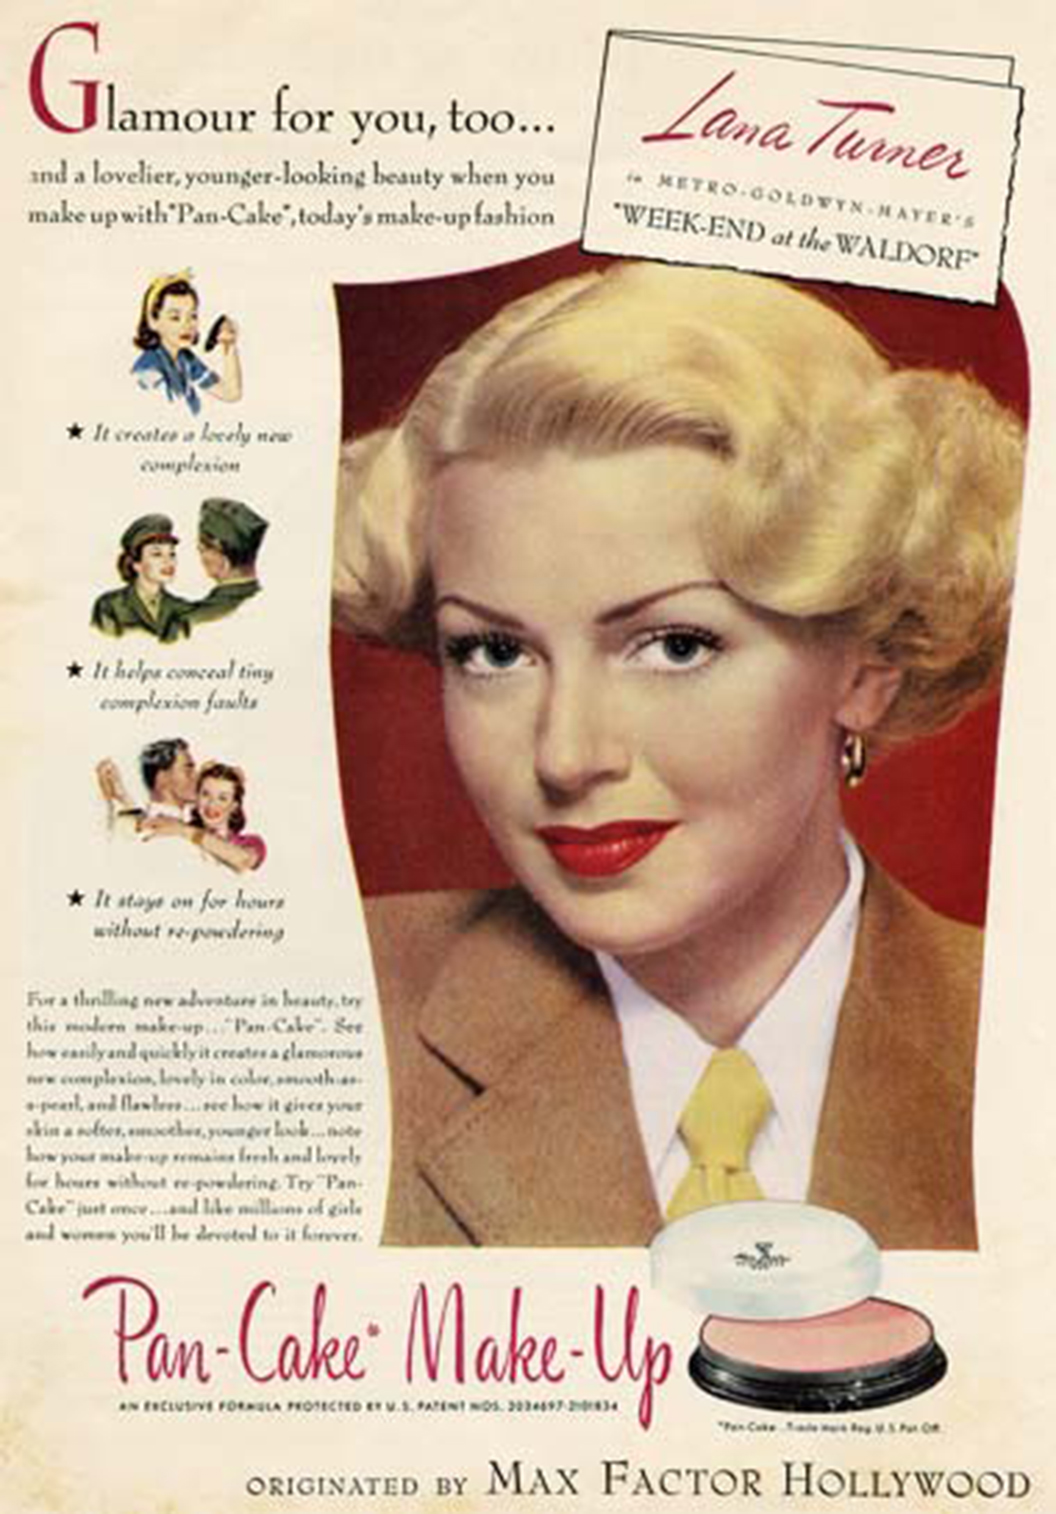
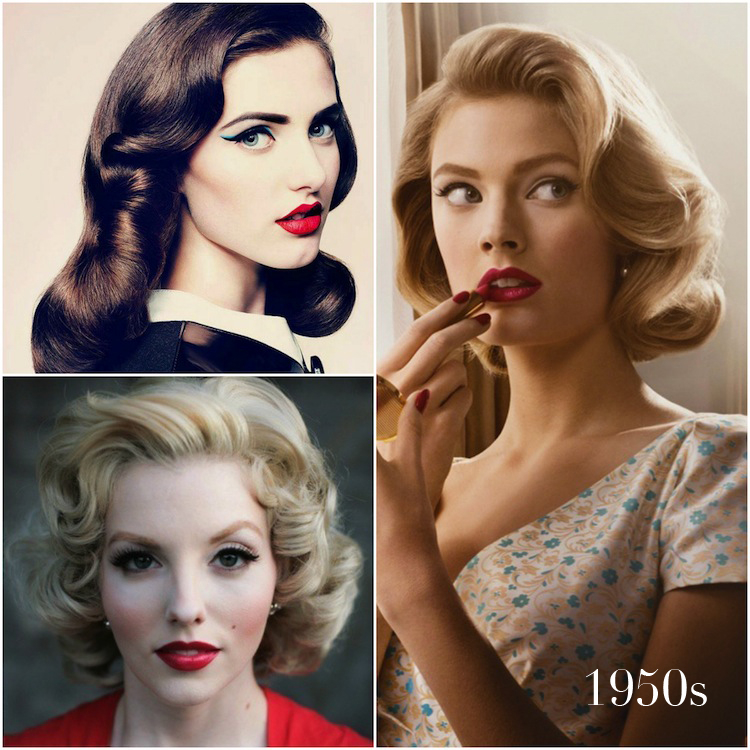
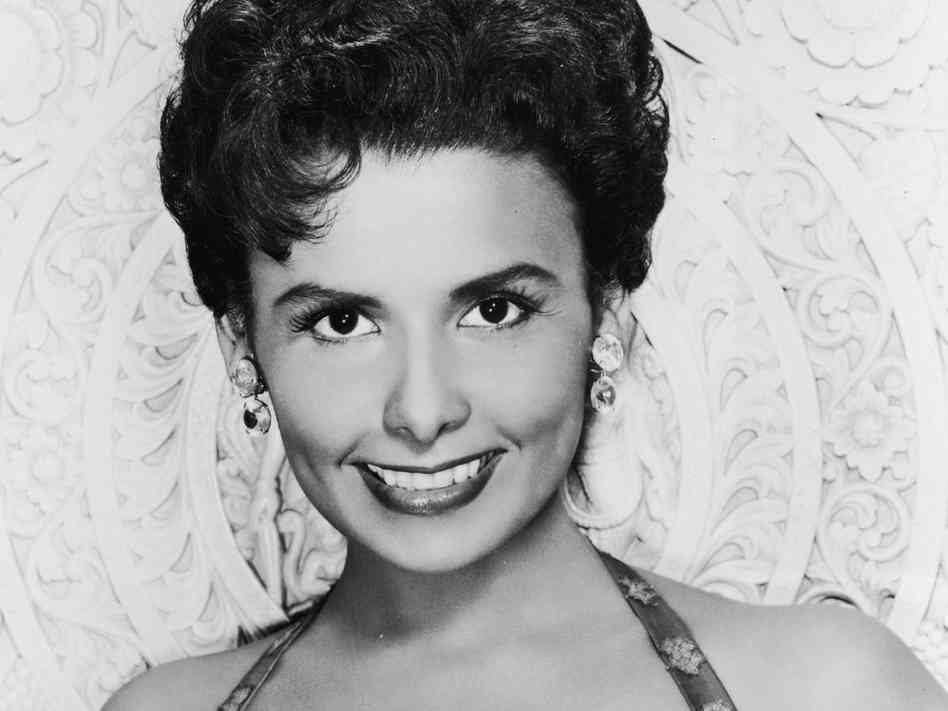
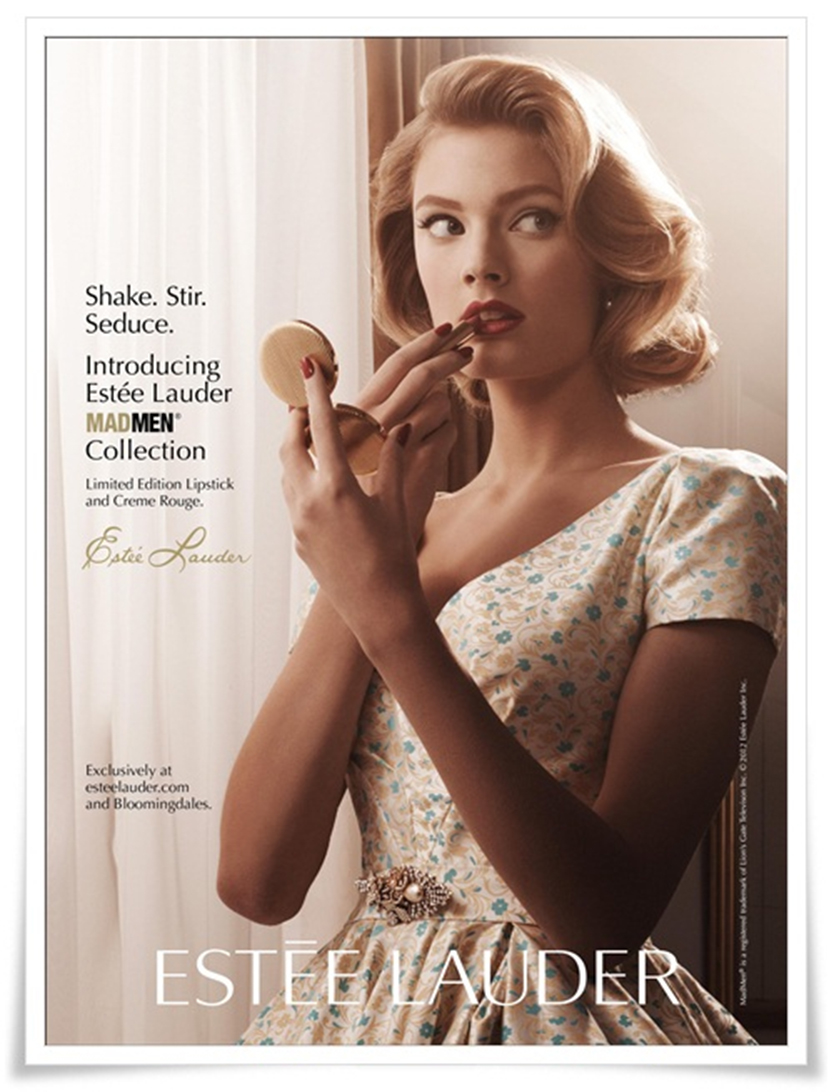
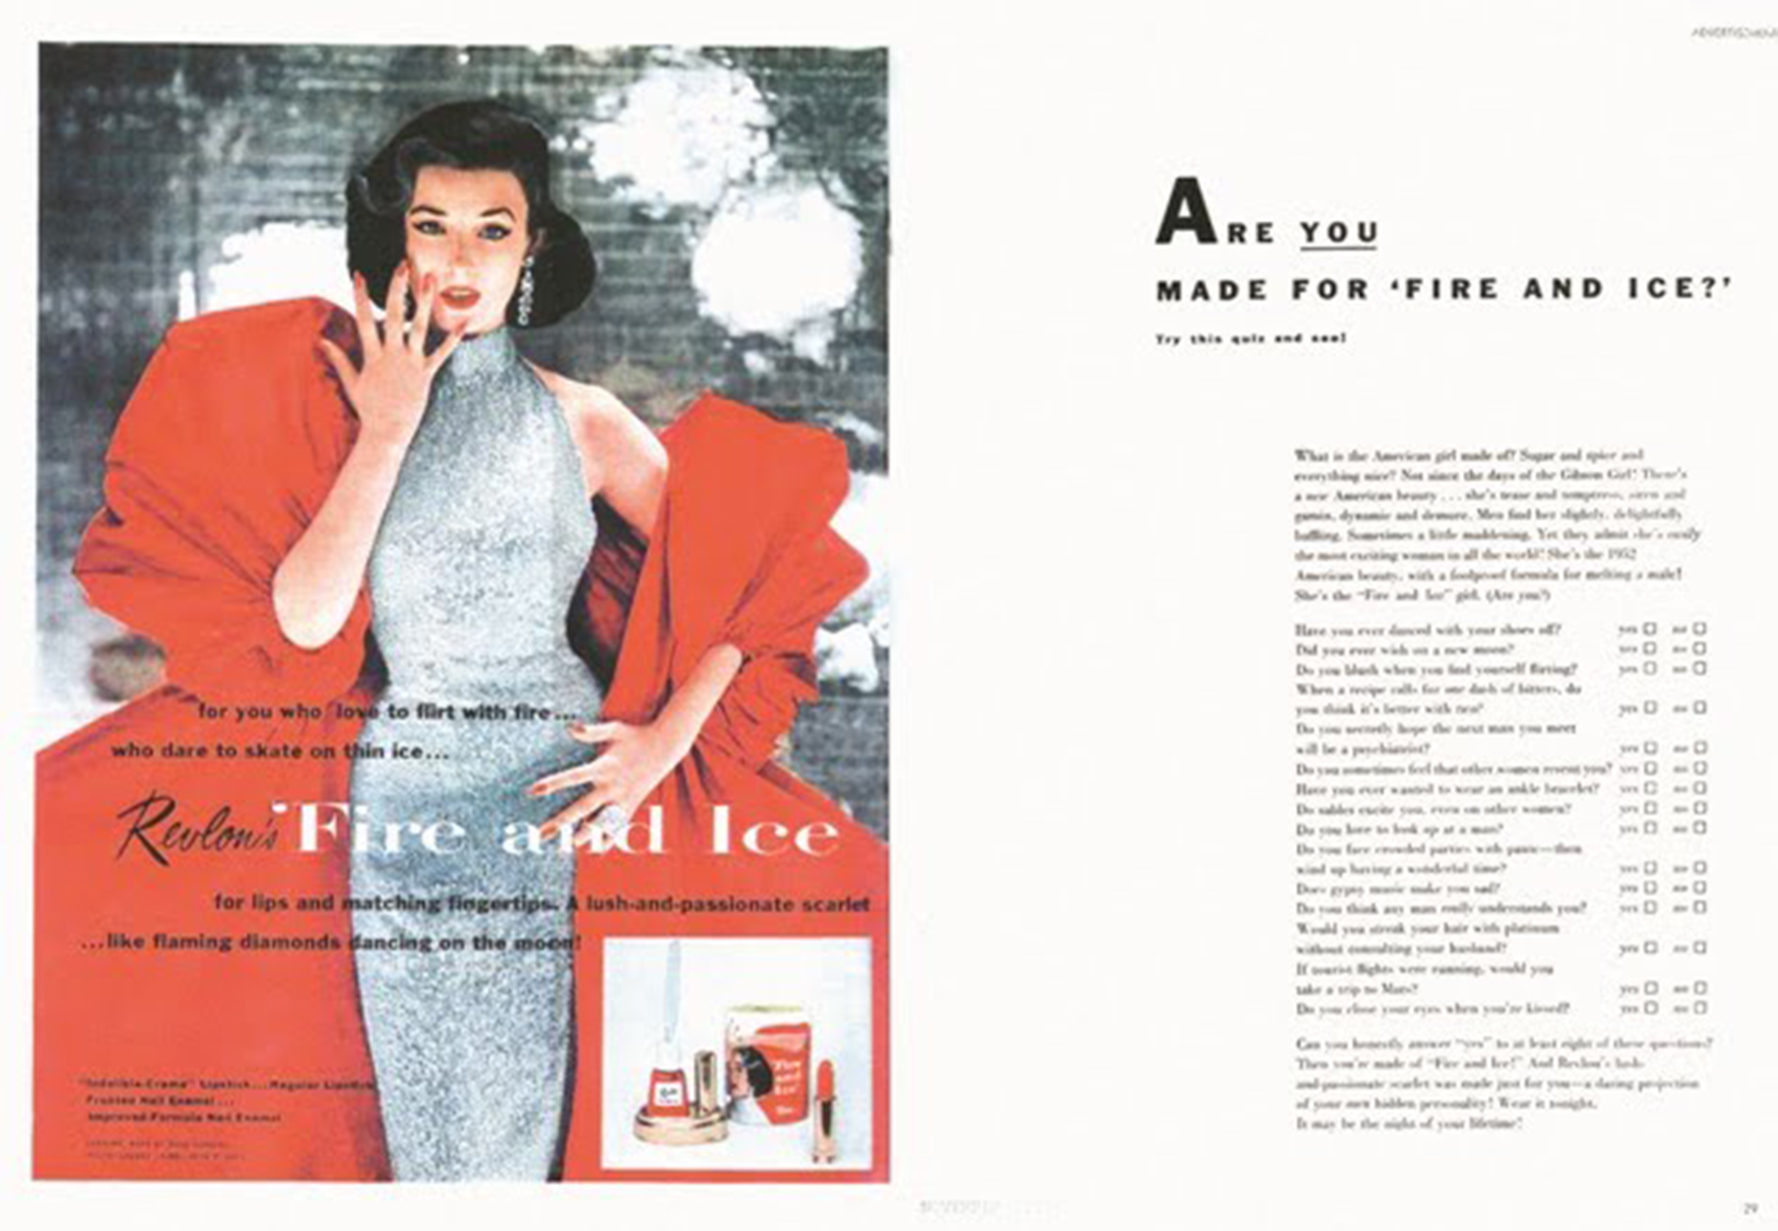
Modern mascara gained large popularity only after much promotion and marketing by Helena Rubinstein (1870 – 1965). Her influence, and constant promotions by various movie actresses of 1930s, 40s, and 50s made mascara socially acceptable in any situation and an important part of almost every fashion style make over all over the world.
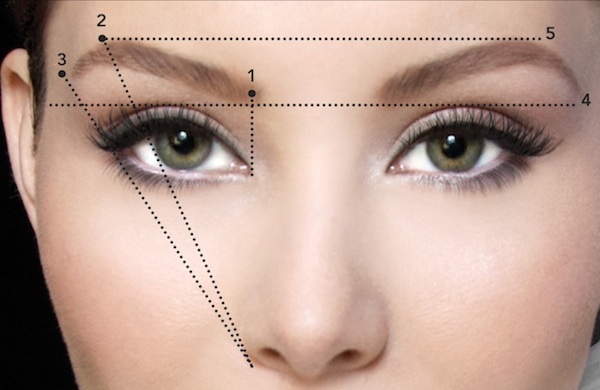
Eyelashes are always about one-third as long as the eye is wide and this is the ideal length for diverting air flow to keep eyes from drying, our main takeaway is that they’re just as consequential to our eyes health as they are important for our vanity.
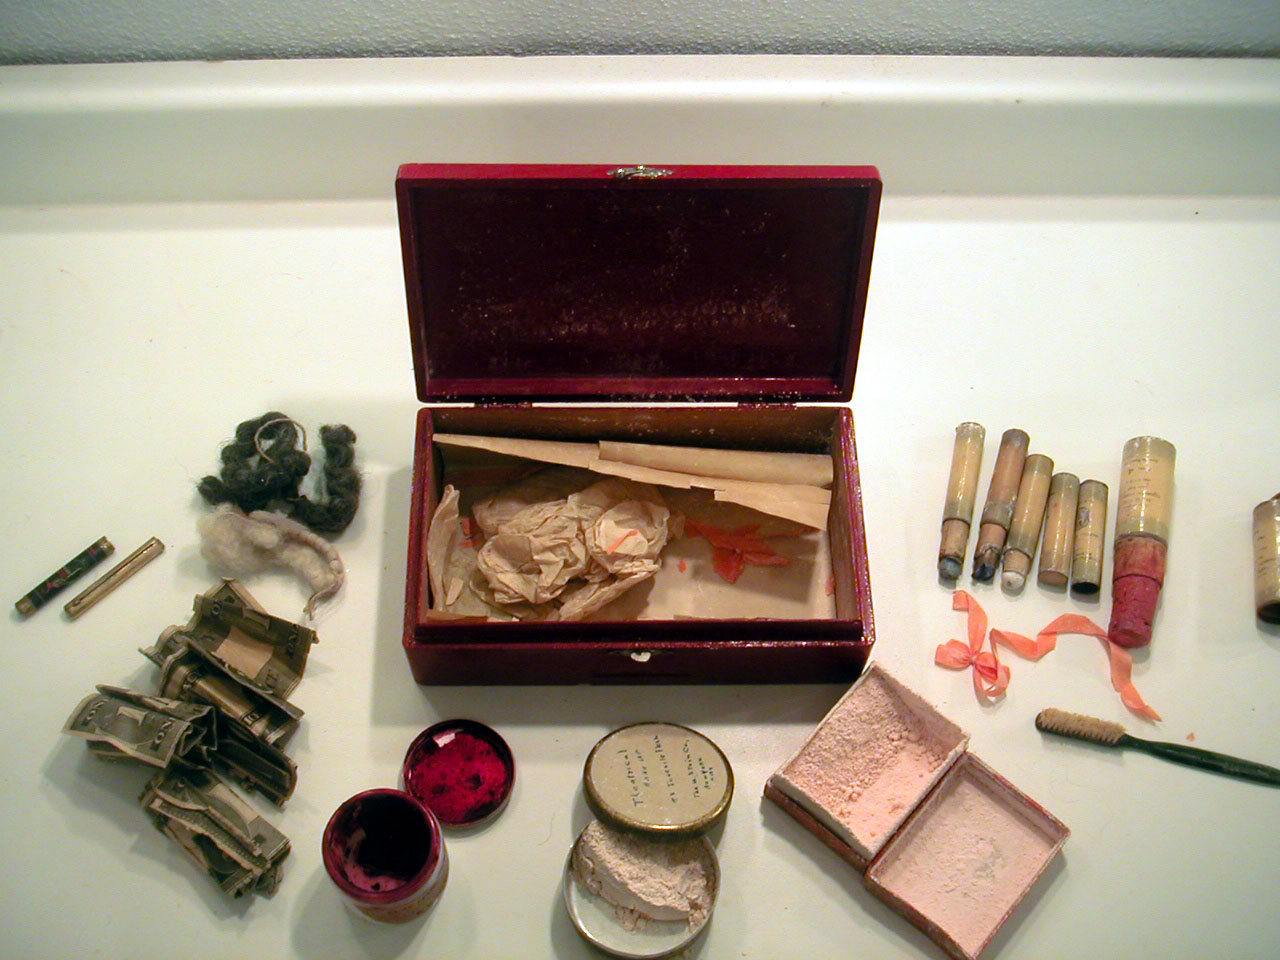
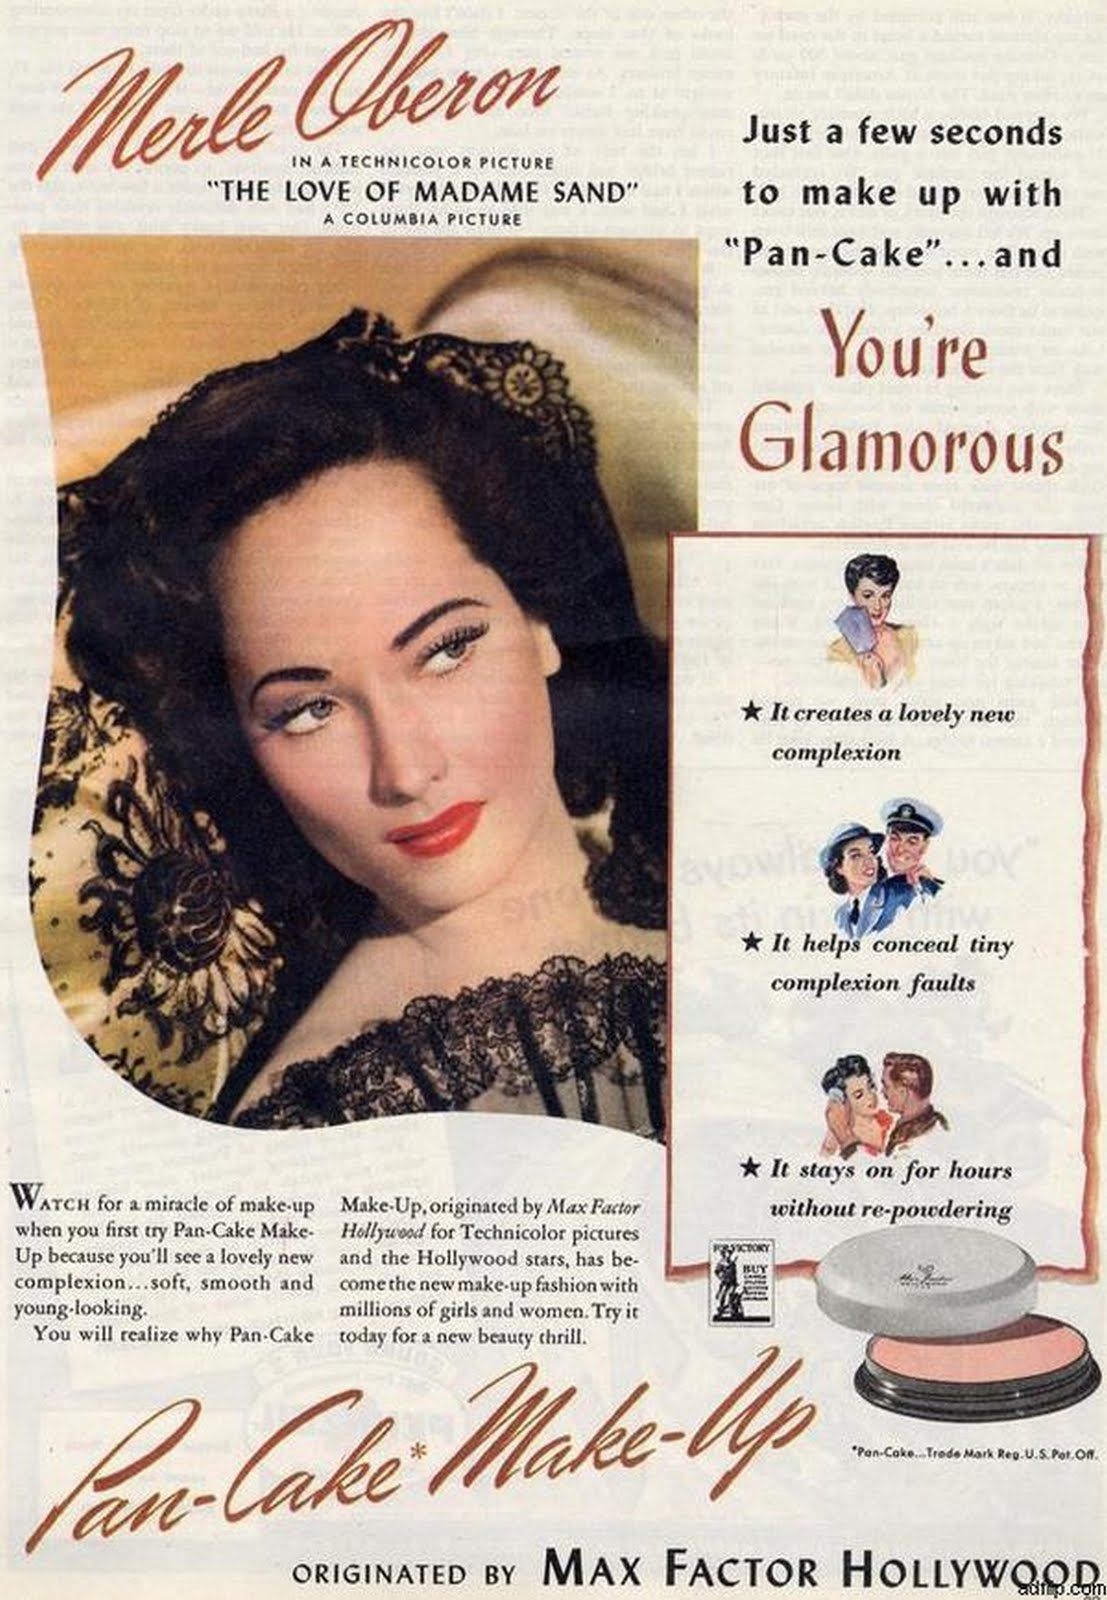
The first nontoxic Rimmel Mascara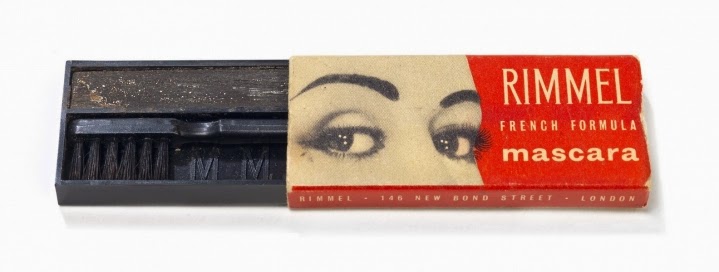
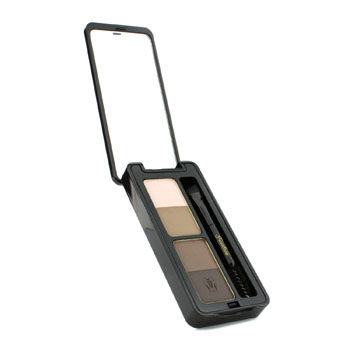
Maybelline Cream Mascara
Maybelline Cake Mascara
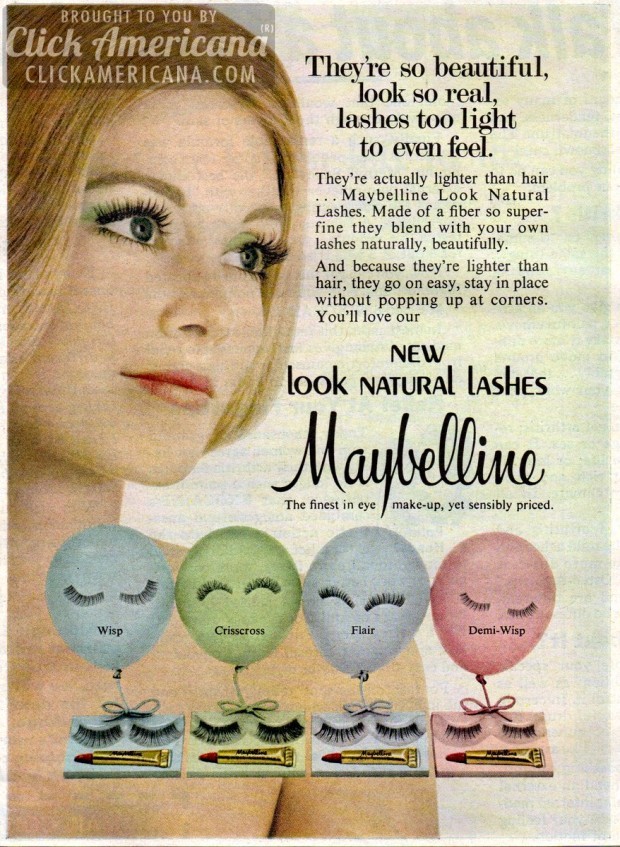
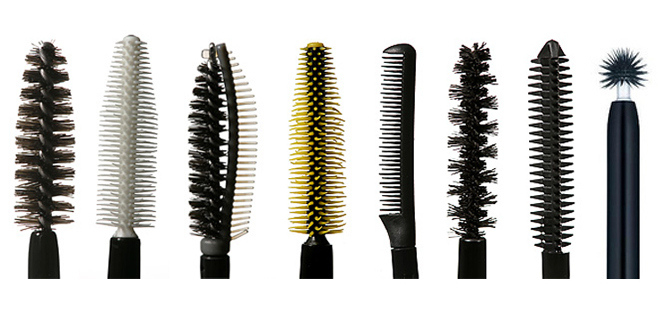
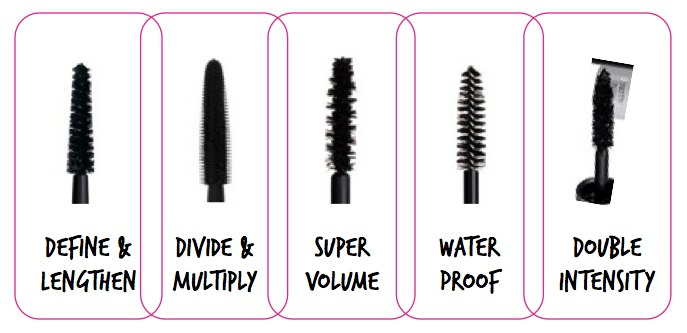
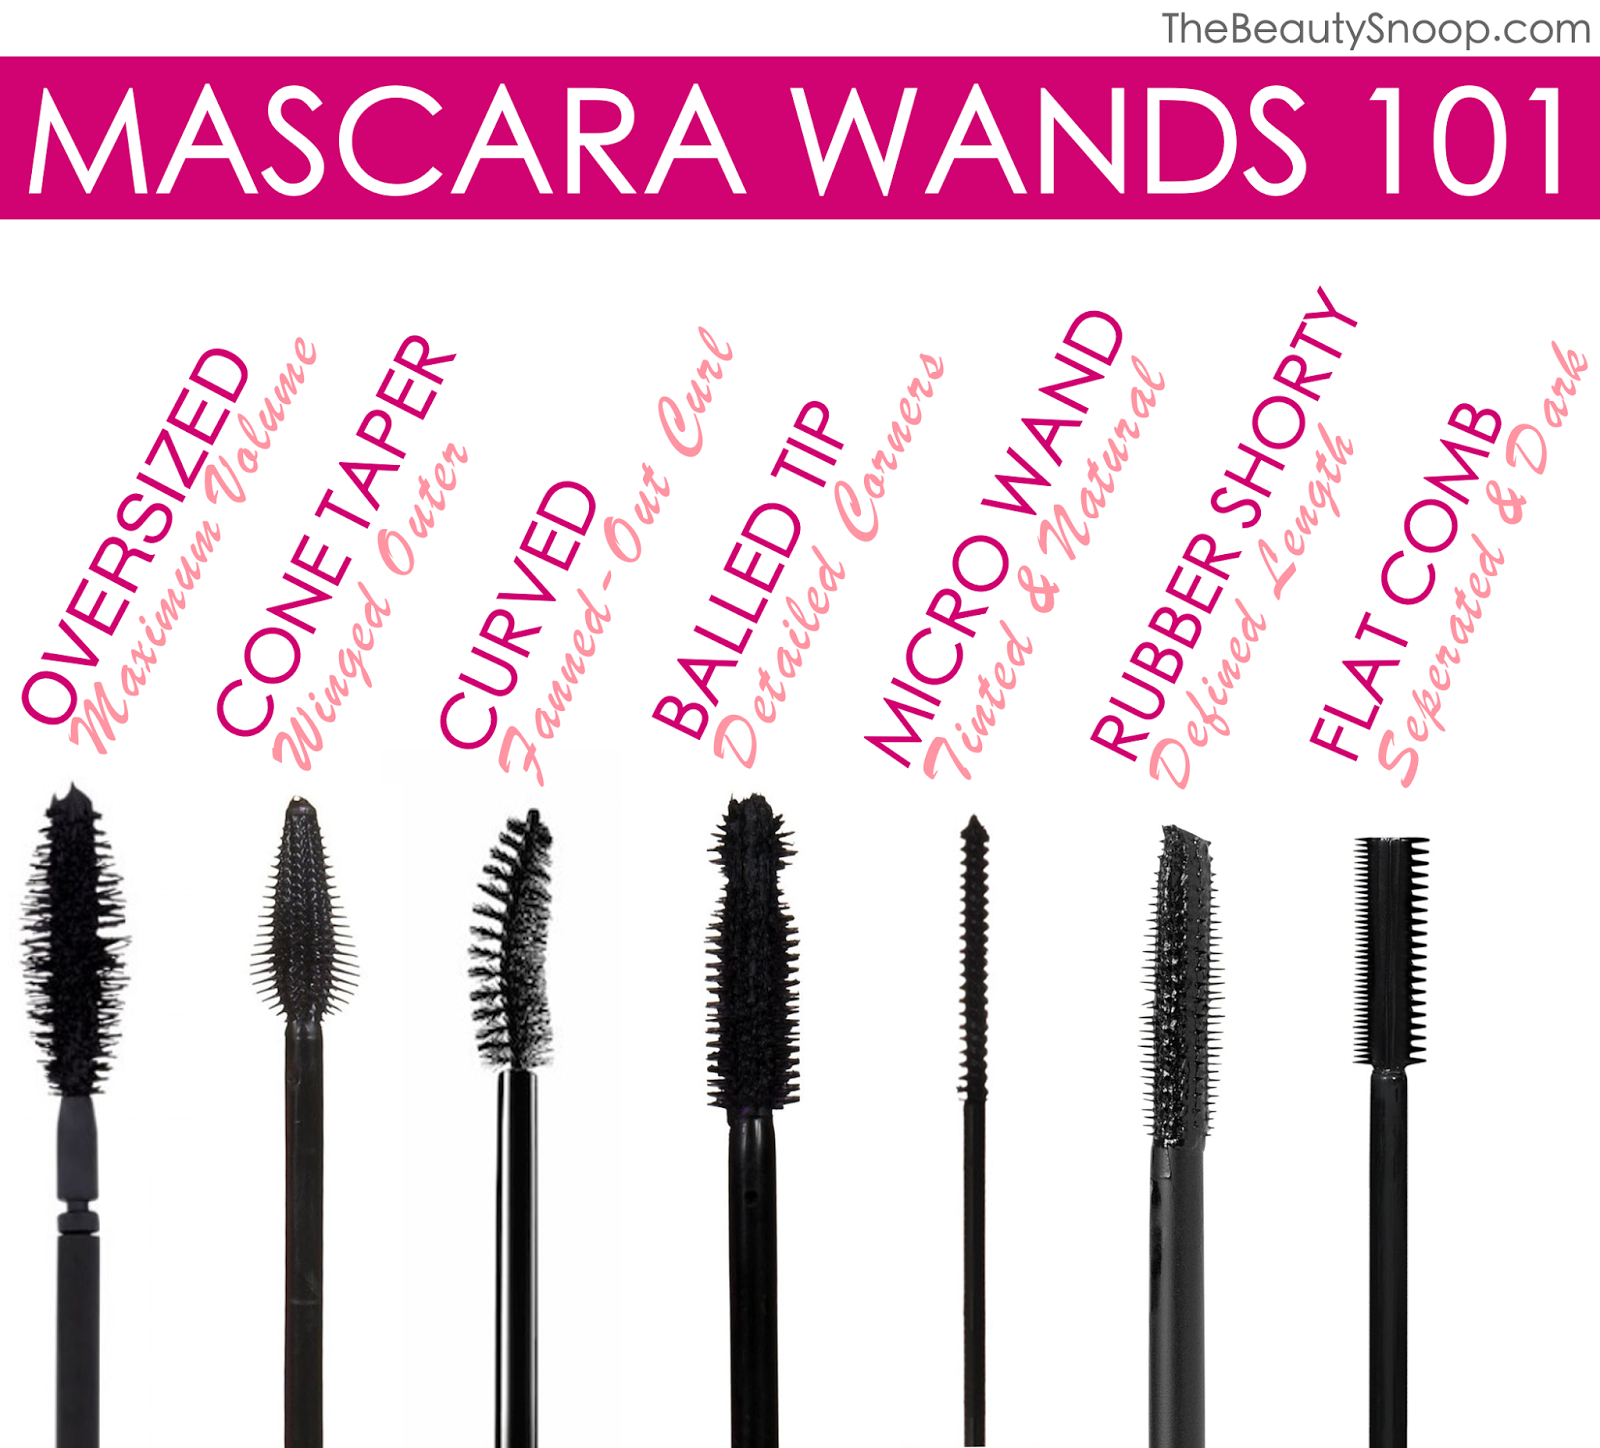
Different Mascara Wands
TIP: I only use waterproof mascara in a special situation I don’t regularly do, because it tends to dry the lashes, it coats them and doesn’t let them breath, aside it is hard to remove and promotes rubbing the delicate skin of the eyes and under the eyes, and irritates the skin by doing that, is best to give a place for that kind of mascara when is an absolute must.
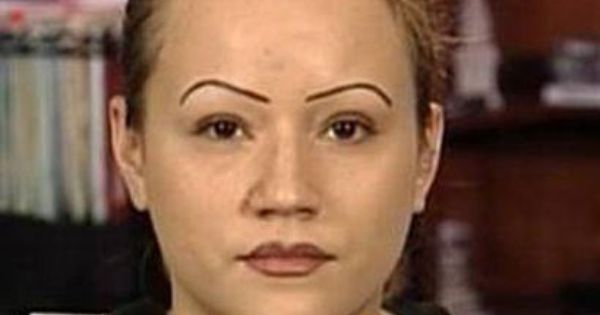
Color: Black mascara defines the eyes like nothing else and works with almost any look, but electric blues and deep purples can also be stunning, so don’t be afraid to experiment. Dark brown mascara is generally softer and more flattering for mature faces.
Application: Whatever formula you choose, here is a foolproof guide to applying mascara:
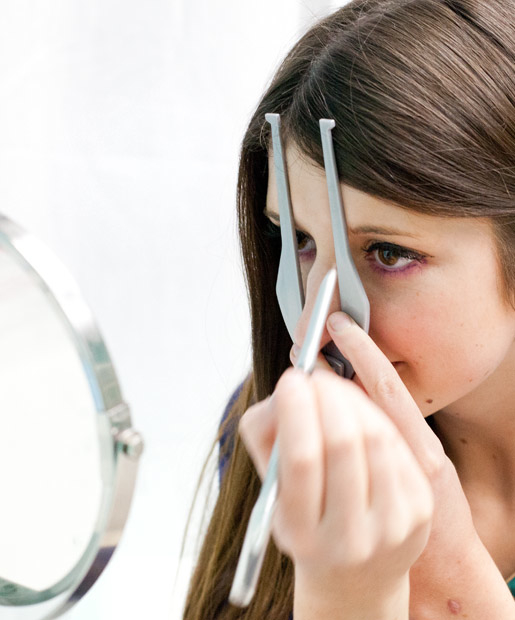
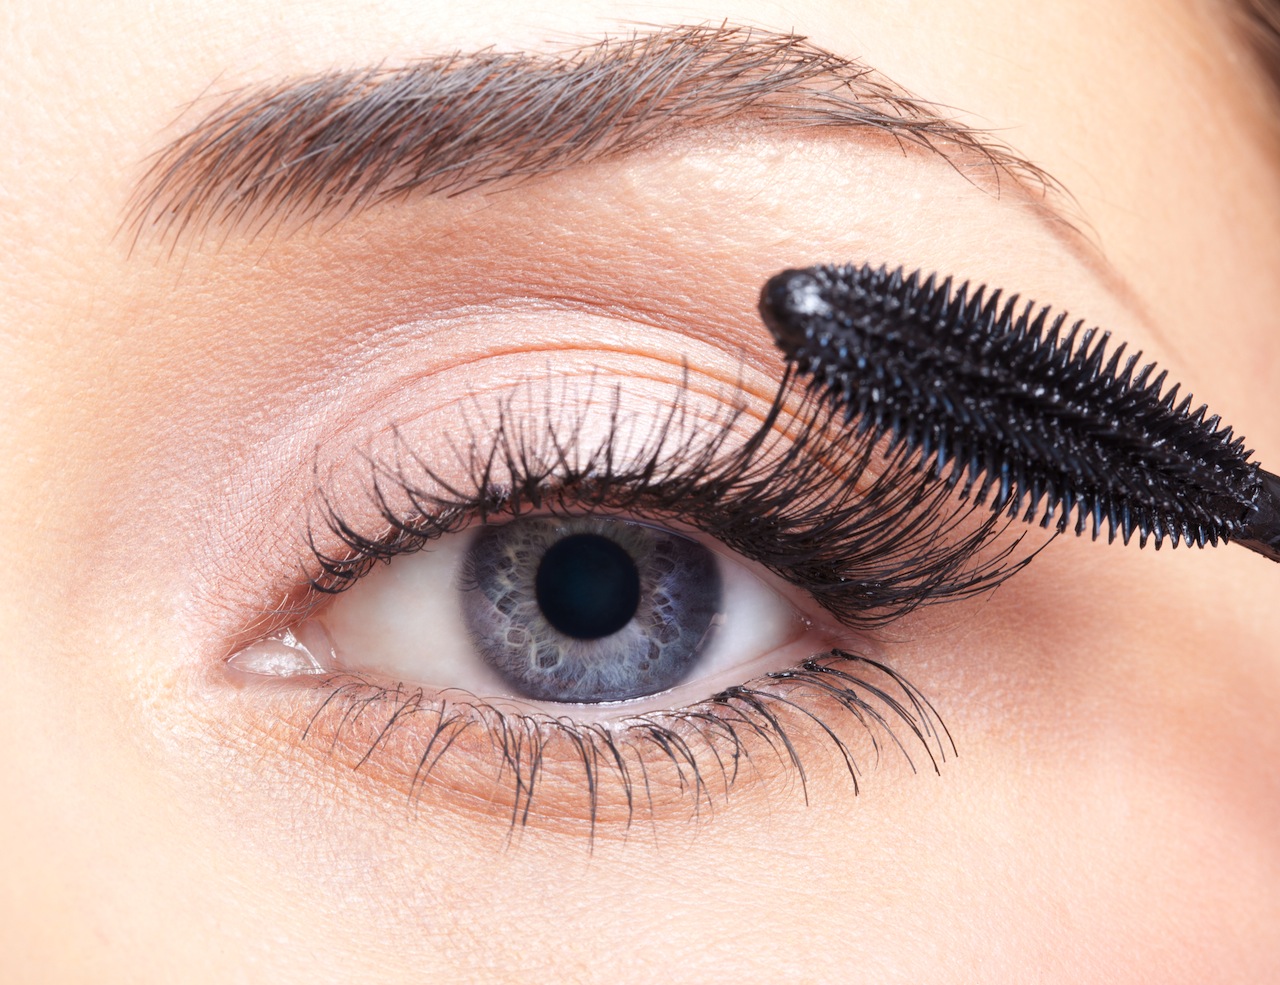
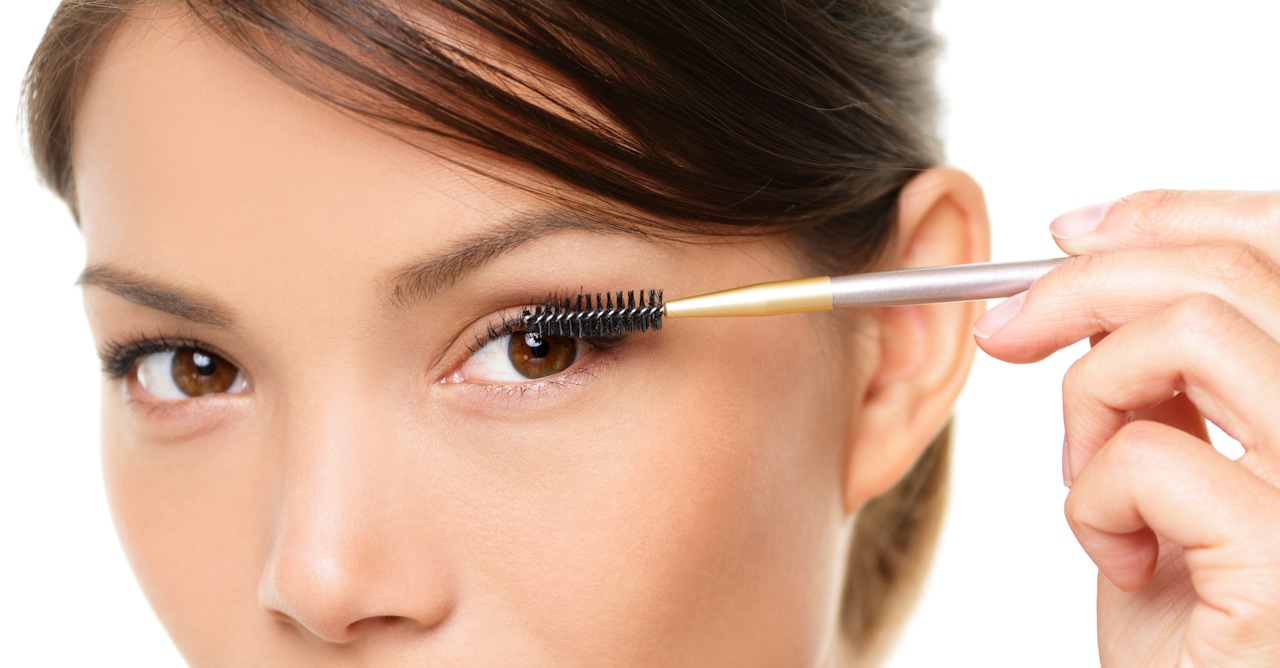
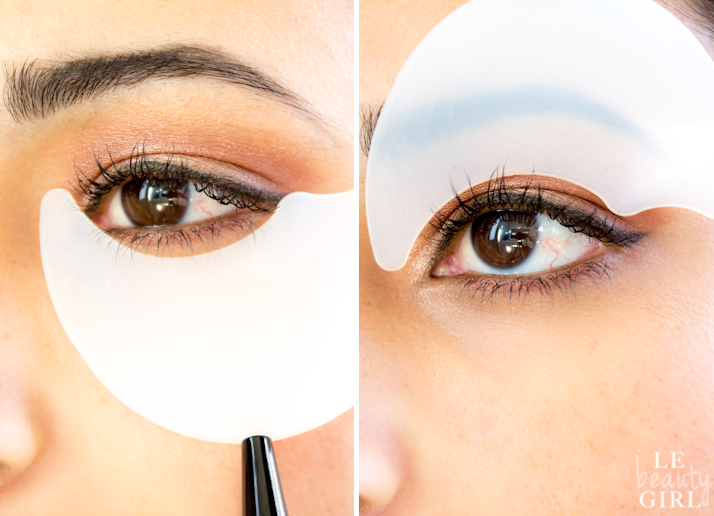
1. Make sure the wand is not overloaded so that the product is less likely to come into contact with the skin and if you have concerns due to hooded lids is wonderful shields to prevent mascara to stain the skin. Look down and stroke the wand over the top of the upper lashes from roots to tips you can hold the lid gently upward that helps you reach the roots without getting it on the lid. Move along from one corner of the eye to the other until every lash is coated I usually move my eye ball to the opposite corner so I can get in closer.
2. With the eyes wide open, stroke the wand up the upper lashes from underneath, starting at the roots and sweeping up to the tips. Move along as before from one corner to the other until every lash is coated. Repeat, but this time move the wand up the lashes in a zigzag motion to coat the sides of each lash.
3. To add more volume to the roots of the upper lashes, hold the want vertically and push it directly up into the roots, working your way along from corner to corner.
4. To coat the lower lashes, hold the wand vertically and sweep it from side to side over the lashes, being careful not to let the wand touch your face, it helps to open your mouth and pull your lower jaw down.
TIP: I like to use an eye liner brush to coat the roots, that way I prevent my self from touching the skin and at the same time I clean any eye shadow that got in the lashes which will show the mascara as fake and not so natural.
TIP: You can purchase or make your own Mascara shield with rice paper and stick it to the skin with your foundation so it doesn’t move, it will help you prevent getting it on the skin.
TIP: I personally don’t use mascara in the lower lashes on every person, only on certain eye shapes, it can have an effect of droopy eye.
DO Wipe the brush clean before you first apply a brand new mascara you can do this on the edge of the tube when you are pulling the brush out. That way you get a feel for the brush and how much to load up for maximum effect minimum flick back, that way is no clumps that can transfer to your skin. Clumpy lashes are the result of applying too much product or having moisturizer or any oil on your lashes.
Using a light touch and an eyelash comb or brush used before mascara has dried will help fluff the lashes and remove excess product, you can use a mascara spun to do the trick.
DON’T Rely on one mascara to do it all! Consider mascara wardrobing like you do with your clothes – using more than one mascara – you create your desired look to suit your lash needs and overall look. For instance, if you have short, sparse lashes and crave length and volume begin with a lengthening formula and slim brush design to extend lashes followed by a curved or bigger brush combined with a thickening formula to add volume to upper lashes just customize it to your needs.
DO I like to moisten lashes with a clean, wet brush or Qtip prior to applying mascara. I learned that by doing this it allows the mascara to go on more smoothly and evenly. Remember to apply the product starting at the lash base and working outward to the ends of the lashes.
DON’T Pump Don’t pump the wand in and out of the tube. This action does not coat the wand with more mascara any better and only causes the mascara to dry out faster by introducing air into the container and most likely messing up the brush and coating the entrance of the tube with product, which will prevent closing the tube airtight.
DO You can Layer it, usually people apply just one or two coats of mascara to lashes; however,in many cases, you may actually need three or four layers to get the desired look. In the case of short, thin lashes, try mixing mascaras. You can first start by applying a layer of mascara meant to lengthen lashes. Then add a layer of mascara meant for thickening the lash. Try what works for you. It is good to do a bit of research and collect pictures of looks you like and then practice.
Don’t, the answer is a big NO Add any other products to your mascara in the tub. Somebody once asked me if adding water or moisturizer to extend and thin out the mascara was okay the answers a big NO!!! it will ruin the product and it may not be safe for the eyes.
Duration of a mascara to be safe Is best to discard the mascara after 2 or at most 3 months, I personally keep it to one month be the judge if you notice that the mascara is loosing it’s shine that means is getting dry and it would not give you the results that you spect. Our lashes are designed to catch bacteria, dirt, and anything that pose a danger to your eyes so usually, the mascara brush brings a few of those invaders into the tube of mascara. the environment inside the tube it is wet and dark Hmmm! great grounds for bacteria and other invaders to proliferate. Using a new mascara is a lot cheaper than an eye infection not to mention the risk and pain.
For safety and hygiene purposes, NEVER test mascaras at the cosmetics counter even with the throw away mascara wands, you don’t know if people introduce the wand a few times when trying the product before you I personally had a very bad experience by do ing this.
For more tips, this is a great site
http://www.paulaschoice.com/expert-advice/eyes/_/makeup-tips-tricks-mascara#dos
Mascara Shields
DO Hold your brush like a pro and go vertical as well as horizontal stokes. when you use the tapered end of the brush it allows you to push lashes up for a wide-eyed look.
DON’T Is best not to load up to much mascara to lash tips as that make them heavy and result in the dreaded droopy look Place your focus on the roots and pulling the wand through to tips.
Recipes to make your own Vegan mascara:
Vegan home made mascara
1tsp Candelilla Wax
1.5 tsp Jojoba Oil or Argan Oil
1 tsp Black Iron Oxide
1/4 tsp Zinc Oxide
This will make 5 to 6 pots
Here please make sure that all the utensils that are used to make the mascara are sanitized and the same with the container that you will use to keep the final product is no worth a risk to hurt your eyes otherwise.
How to make it:
Begin by mixing the black iron oxide and zinc oxide until well blended.
Place a small glass or metal bowl over a pot with water over low heat on the stove, add the wax to it and the oil and let it sit until completely melted do not boil the mixture when it starts to melt mix well.
Add the mixture to your sanitized pots and press down with a piece of cloth like gauze or cheesecloth, you can press it with the back of a spoon. Let the mixture set and dry before using.
A great way to transfer your finished mixture to the pot is to use a large syringe or a small pastry bag, you can also make a cone by cutting the end of a strong plastic bag, it is a bit messy this way.
Cake mascara is well applied with a spoolie brush or a brow brush.
If for some reason your mixture is runny, add a bit more Iron Oxide until desired consistency, I always like to add more color for certain recipes so you get a fuller and luscious look.
Creamy Mascara Recipe
Ingredients
1/2 tsp Carnauba Wax
1/2 tsp Candelilla Wav
1/4 tsp Cocoa Butter
1 tsp Jojoba oil
2 drops of preservative Sodium Benzoate or Potassium Sorbate
1 1/2 tsp pigment color use 2 tsp for pigment with Mica
this mixture makes 6 tubes or more
Colors
Black use 1 1/2 tsp black Iron Oxide
Brown use 1 1/2 tsp brown Iron Oxide
Black Brown use 1 1/2 tsp black Iron Oxide and 1 tsp brown Ironn Oxide
Blue use 1/2 tsp black Iron Oxide and 1 1/2 tsp deep blue mica, you can apply different color micas for desire looks.
How to make it:
Mix your color pigments together using a coffee grinder or a mortar ( like you are making guacamole) or a ziploc bag.
Place a glass bowl over a pot of water on a low heat on your stove.
Add the waxes, butter, and oil to the bowl and let it sit until melted , do not boil and mix well.
Add the pigments slowly so you don’t create lumps, mix well until is a smooth paste, a little whisk works really well.
Add your preservative and mix well
A safe preservative to use that are safe for eyes
is Potassium Sorbate
According to https://blog.honest.com/what-is-potassium-sorbate/#
Ingredient: Potassium Sorbate
What it is: Potassium sorbate is a salt of sorbic acid which is naturally found in some fruits (like the berries of mountain ash). The commercial ingredient is synthetically produced creating what is termed a “nature identical” chemical (chemically equivalent to the molecule found in nature).
What it does: Fights bacteria. Most personal care products are made with a lot of water and a variety of nutrients which makes an incredibly hospitable breeding ground for microorganisms. What’s worse – the product might smell and look just fine, but be swarming with bacteria or fungi Effective preservatives are vital for ensuring safety!
Transfer the mixture to the mascara tubes.
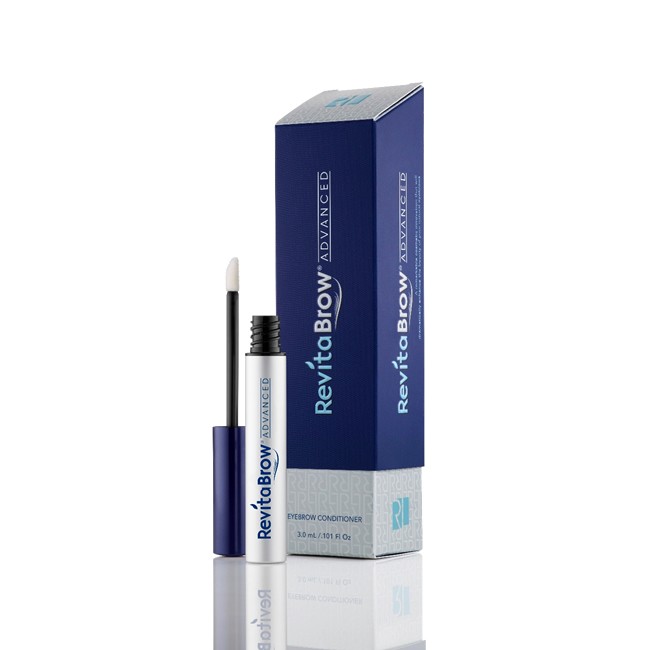
Vegan Eyelash Conditioner Recipes
from: http://www.fashionwithaconscience.org/2012/11/16/how-to-grow-long-eyelashes-naturally/
Most of us crave full and natural lashes. Though we can’t change the lashes we have from the inside, we can use topical treatments to help them grow healthier and longer. There are a number of different eyelash serums and growth conditioners you can purchase from the store or have prescribed from your dermatologist. They have their benefits and risks so be sure to do your research or talk with your dermatologist to see which product would suit you best. There are a number of different natural remedies to create your own homemade eyelash conditioners. Results will not come overnight but over a period of weeks–possibly months–so be prepared for a slow process. Take a break from mascara and curling your lashes once in a while to give them a break from all the lash stress. Give these natural eyelash conditioners recipes a try to achieve longer, thicker, and fuller lashes!
Coconut Oil Eyelash Conditioner
Ingredients:
– Coconut Oil
– Extra Virgin Olive Oil
– Vitamin E Oil or capsules
– Small clean container
– Disposable mascara wands or cotton swabs
Pour equal parts of each oils into a small container. Note that coconut oil is solid at room temperature but melts when warmed or mixed with other oils. Dip your mascara wand or cotton swab into the mixture, remove the excess and apply it to the root of your lashes twice a day. Make sure to use the conditioner on clean lashes.
Avoid using your fingers to apply the conditioners to your lashes because they can transfer bacteria into the mixture and also absorb the oils. Mascara wands and cotton swabs are precise and insure that every one of your lashes benefit from the goodness of your homemade eyelash conditioners.
Try one of these recipes and let me know how you are liking them. Also, if you have your own recipes please share them with us so we can all grow beautiful, long, voluminous lashes.
Vitamin E Eyelash Conditioner
from: http://www.beautylish.com/a/vmyvn/diy-lash-conditioner
Ingredients:
1 Vitamin E oil or capsules
2 Small container or plate
3 Cotton Swabs
You can use vitamin E capsules or vials of oil to use as an eyelash conditioner. Squeeze or add a few drops of vitamin E oil into your clean container or plate, making sure not to touch the oil with your fingertips. Dab the cotton swab in the oil and sweep the swab across clean eyelashes from root to tip on both sides of lashes, twice a day (typically in the morning before makeup application and before you go to bed).
Longer Lash Conditioning Serum
from: http://hellonatural.co/eyelash-conditioning-serum
Ingredients:
• 2 tablespoons castor oil
• 2 tablespoons 100 percent aloe vera gel
• Jar with lid
• Q-tips or clean mascara wand
Instructions
1 Combine castor oil and aloe vera in a small container with lid.
2 Shake to combine before each use.
3 Apply nightly to lashes with Q-tip or mascara wand.
4 Do not rinse.
For more information watch the videos below:
https://youtu.be/xJ0Ig6qx-JU
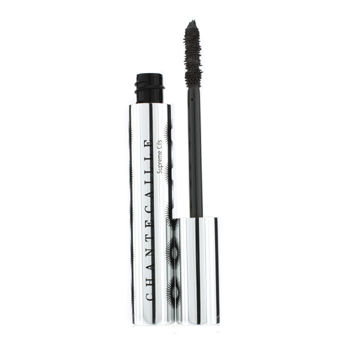
Chantecaille Supreme Cils Mascara
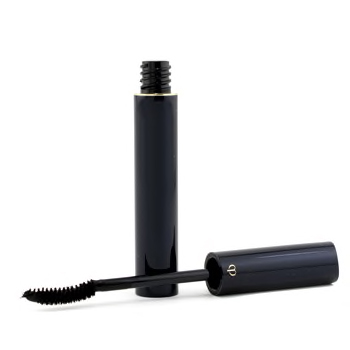
CLE DE PEAU The Mascara
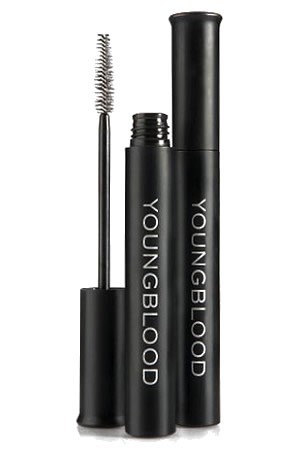
Youngblood Outrageous Lashes Mineral Lengthening Mascara
Youngblood Outrageous Lashes Mineral Lengthening Mascara nourishes and volumes the lashes while increasing length and definition to get you noticeably gorgeous lashes. The long-wearing, non-flaky, smudge-proof formula is everything you want in a mascara.